Intro:

Today, I'm going to go through how I test a charger to graph the charge voltage and current.
Disclaimer:
This is the most important section of this post - I am not an electrical expert. What I'm showing here has plenty of flaws I am aware of, and may have some that I have not considered. This is not meant as a guide or a description of the proper way to perform a test. This is only a write up of how I currently test a charger with the equipment I have.
Equipment Used:


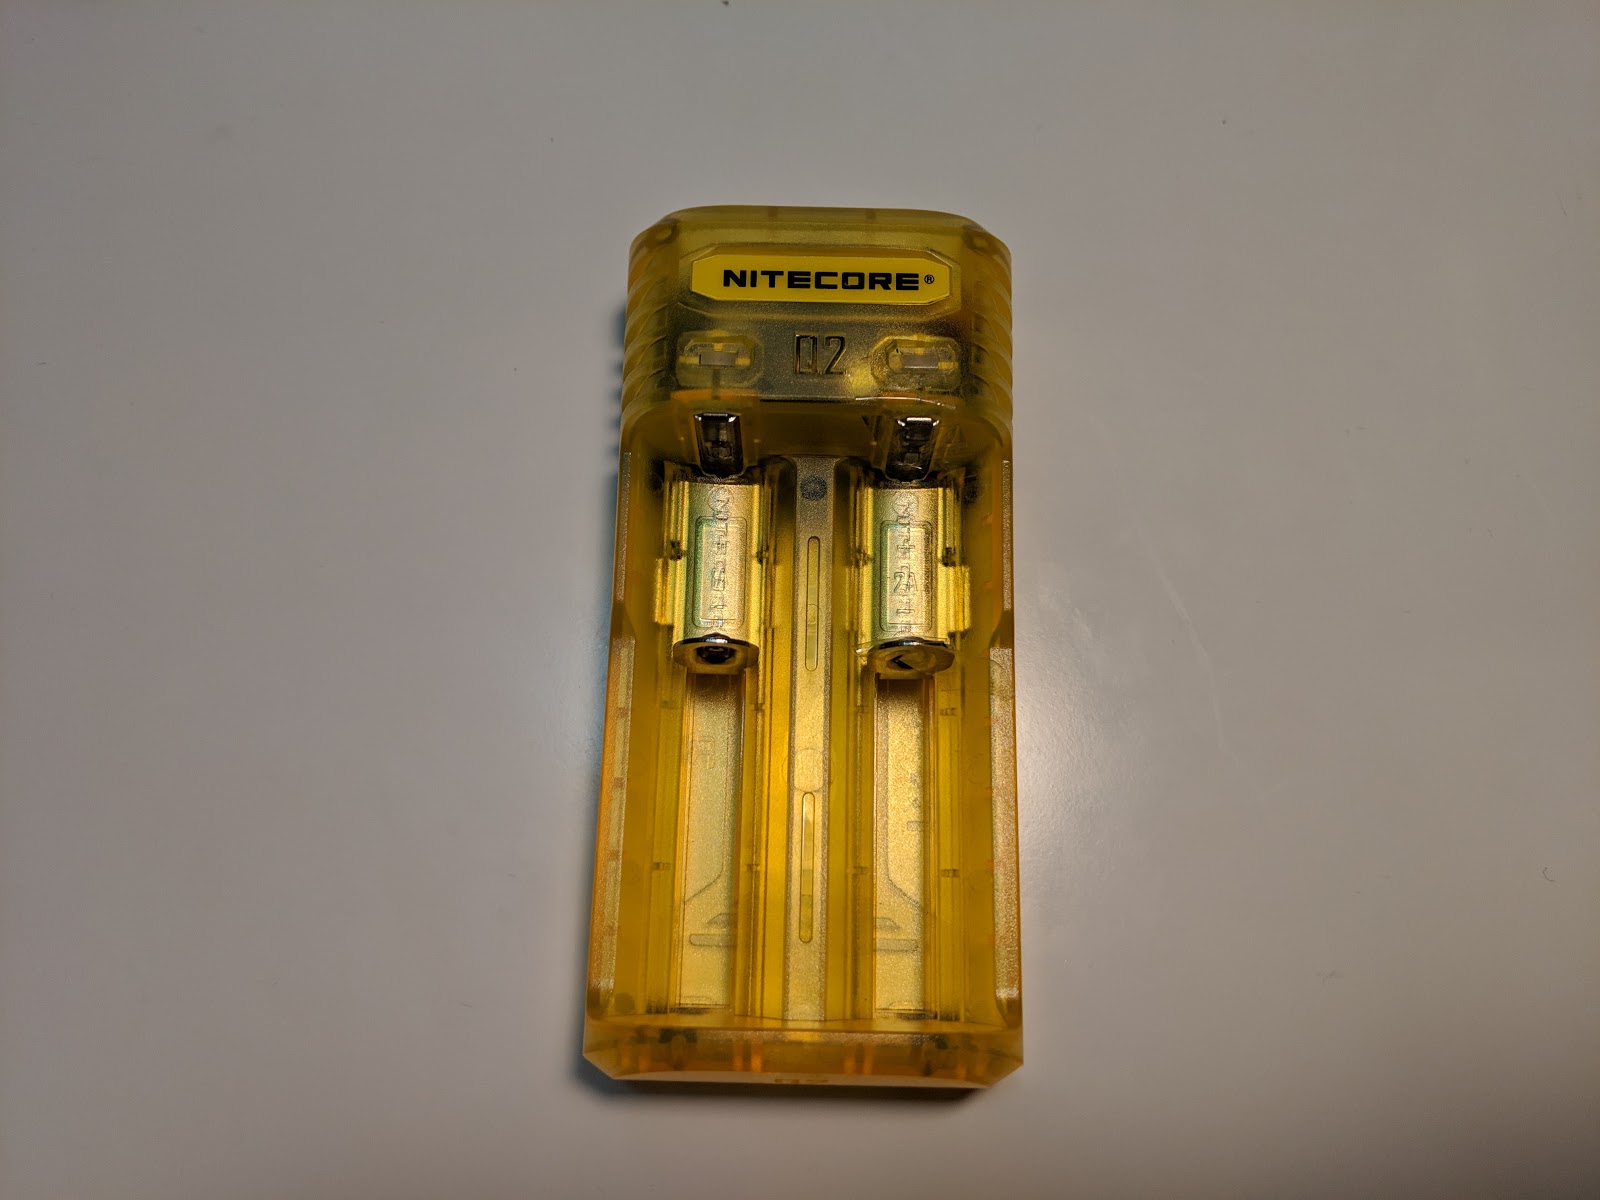
Setup:
Build:


Method:

Once this is all connected, the charger detects the cell voltage just as it would if it was installed directly, and charging begins.
Measurements:
While Testing:

An added benefit of the graph showing up in real-time is that I can remote into my desktop if I'm in another room to check on how the charging is going.
Results:
The result of this is a curve showing the charge current and cell voltage throughout the charge cycle. To me, the most important part of these graphs is noting how the cell voltage changed over time, and seeing if the termination voltage was appropriate. The current is a good measurement to see if the charger properly slowed down as the cell approached a complete charge, and to see if the charger picked a good current for the cell being tested.
Limitations:
As I've already noted, this setup is far from ideal. The biggest disadvantage is that the USB cables I am using add a fair amount of internal resistance to the measurement. The resistance at each pole is about 0.3 Ω. This can lead to inaccurate current measurements. Some chargers use the internal resistance of a cell to determine the appropriate charge rate - in these cases, this setup just won't work for testing those higher currents.
Another important note is that some chargers measure the temperature when charging NiMH cells to determine when to terminate the charge. Since the cell is not directly inserted, these chargers could overcharge cells of that chemistry.
A smaller issue is that my dummy cell is 1" wide, so it won't work in smaller chargers that don't support 26650 cells. If I run into that issue, it shouldn't be difficult to find some smaller scrap material kicking around somewhere.
Possible Upgrades:
Anything that can reduce the resistance of this circuit would improve the measurement accuracy. If I can find a USB cable with thicker leads, I'll start using those instead.
The next step up from this would be using a proper logging DMM in place of a USB tester. To me, the Mooshimeter (referral link) seems like the perfect candidate for this, since it takes standard leads and can record voltage and current at the same time.
Comments
Post a Comment